Community

This page was translated into English automatically.
You can find the original article in German here.

Link Community

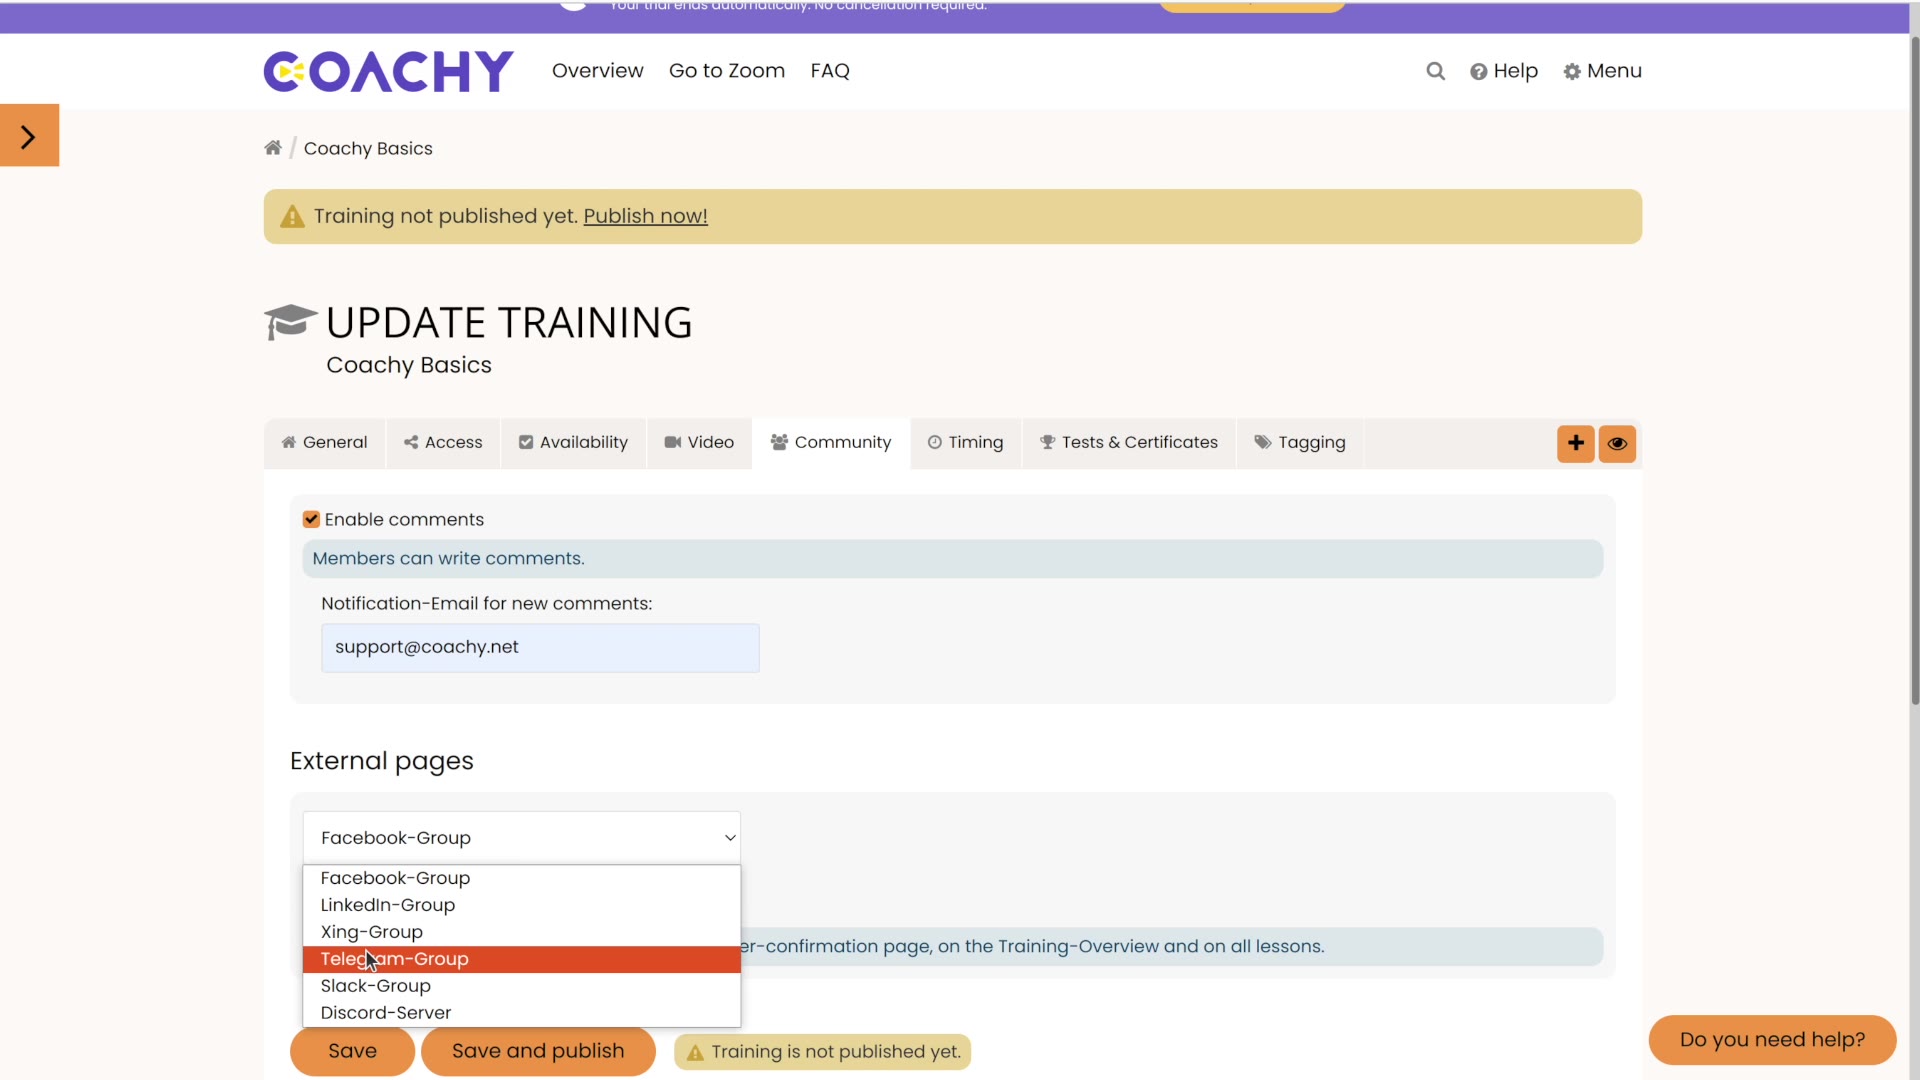
Invite members to your exclusive group. The link to this group will be displayed on the thank you page, the overview page of your course, and in each lesson.

This way, you can provide an additional platform where your members can interact with each other. You can not only provide them with more information there, but interact with them (be approachable and authentic), build trust, and gradually build a community that relies on you and your products.

  • Add group

    To link a group, go to the Settings of your course and go to the Community tab. After selecting your provider from the dropdown menu, you can enter the link to your group in the appropriate field.

    Don't forget to save your changes!

  • Deposit group in profile

    You can show yourself as a coach in an extra profile - it is displayed on every page above the footer. On the one hand, you appear closer as a coach, and at the same time your members have your most important contact information at their fingertips - and can also follow you via other channels. At this point you can also add your group.

    Go to gear in your member area and jump to the profile tab. Now link to your group and click on Save.

  • Comments

    You can enable comments in the Settings of your course under the Community tab with just one click:

    ​​​​​​

    Below your lesson (i.e., the videos, for example), your members will then have the option to comment on the content.

    You will receive email notifications of new comments. Also, you can send replies to comments.

    Using the close icon ("X") in the upper right corner of a comment, you can delete a comment.