Manage chapter
You can find the original article in German here.

Create Chapters
Chapters allow you to divide your lessons logically. You can create as many chapters as you want.

Chapters allow you to divide your lessons logically. You can create as many chapters as you want.
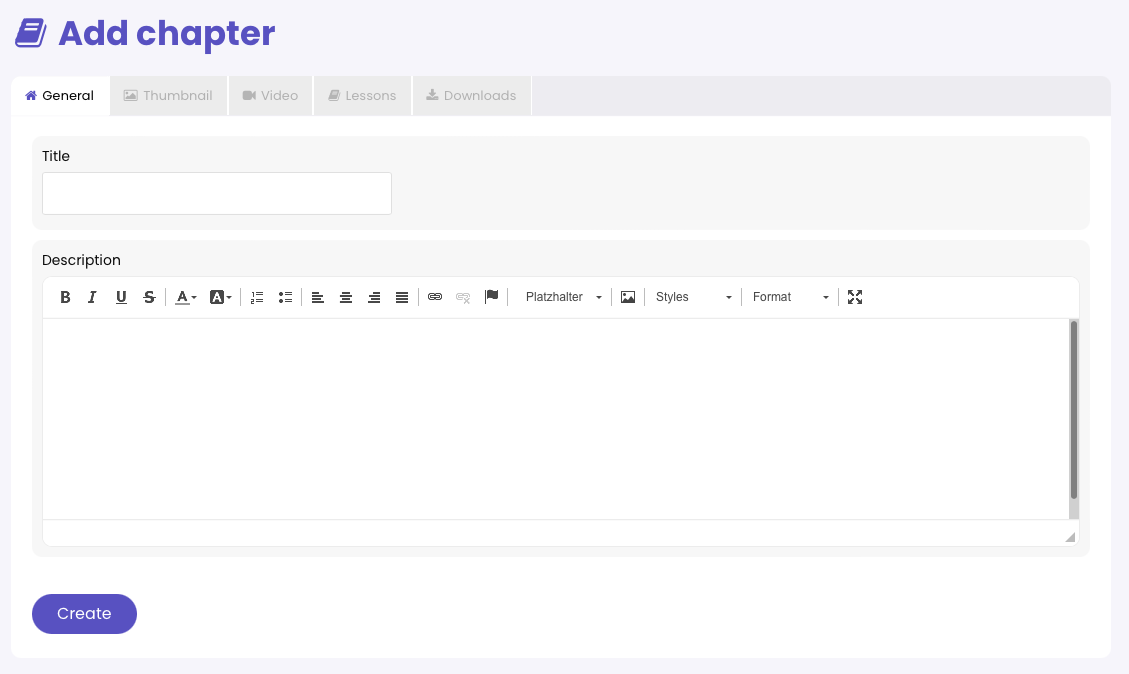
To add a chapter, select your corresponding course and click the Add Chapter Now button below the "Chapter" heading.
After that you have the possibility to enter a corresponding title and a description for the chapter. Please click on the button Create to save the chapter.
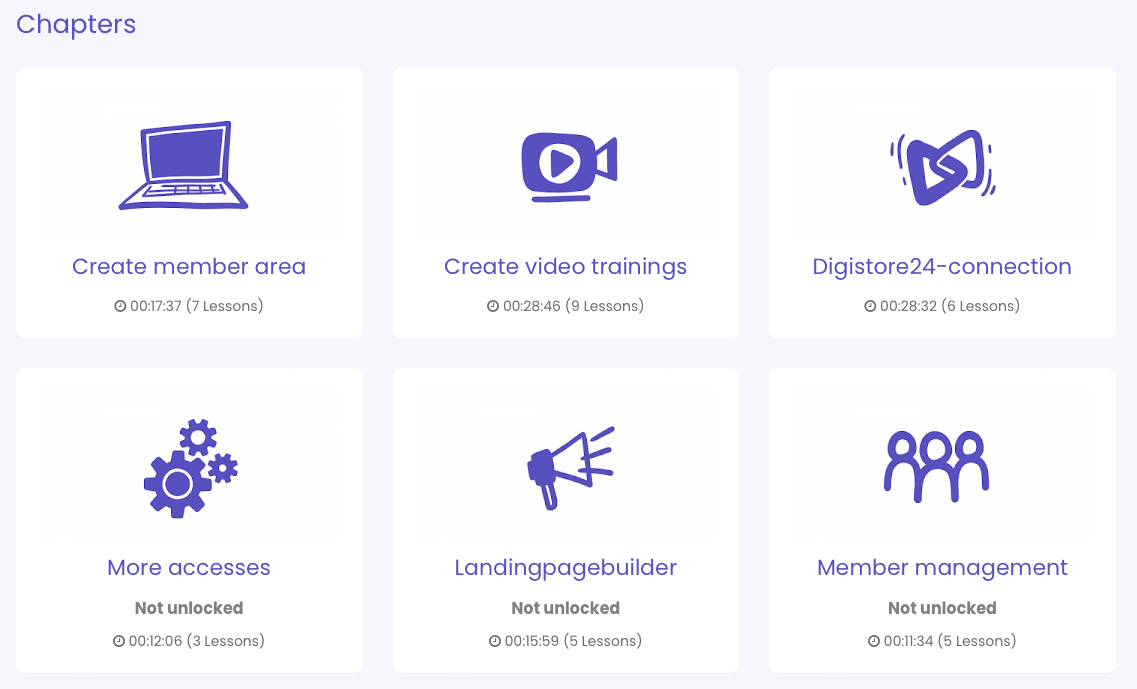
Now when you click on your course, you will see your chapters:

If your course consists of only one chapter, you can select the "Only 1 chapter: show lessons directly checkbox to avoid an extra click from your members.
To add an intro video to your course chapter, please go to the Settings of your chapter and click on the Intro Video tab in the menu:
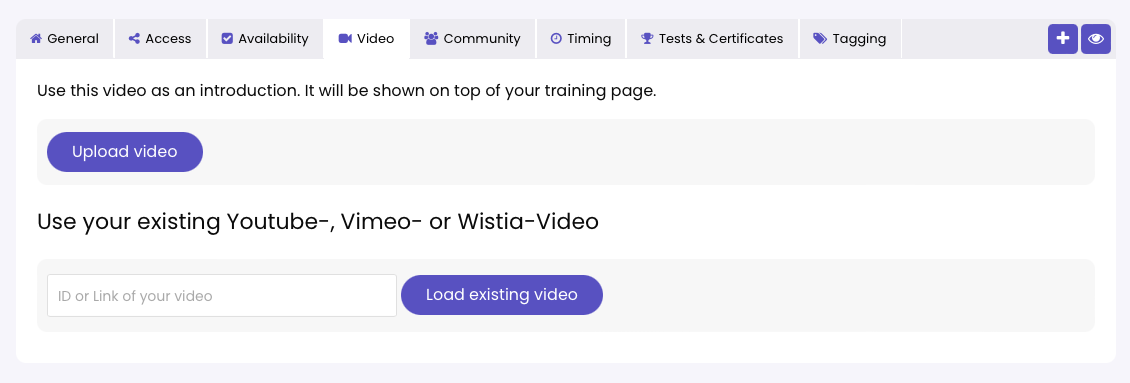
The intro videos are not shown with a time in the overview and appear above the lesson overview.
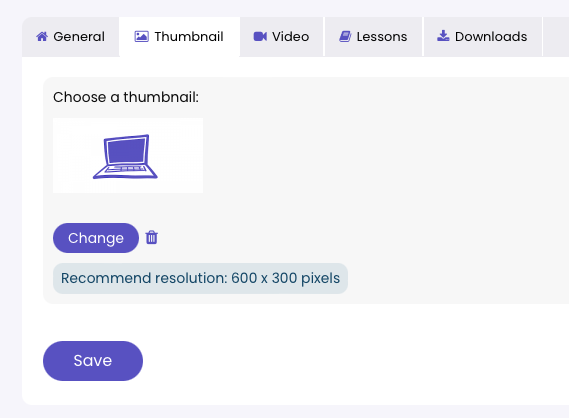
Under the Thumbnail tab, you can select a thumbnail image for your chapter. The recommended image size for your thumbnail is 600 x 300 pixels:
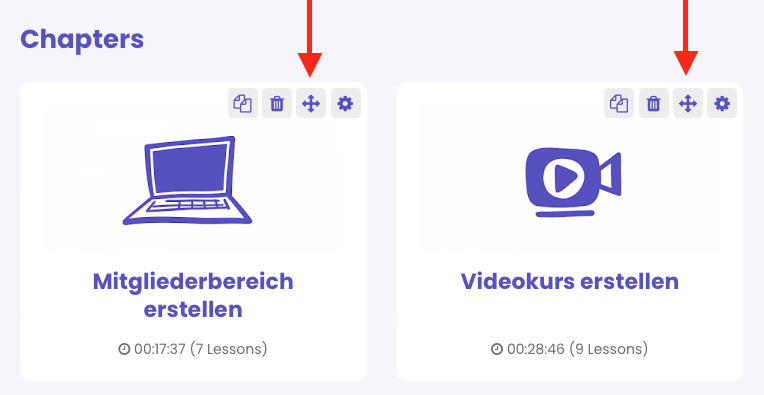
You can easily change the order of your chapters by clicking on the cross, holding down the mouse button, and moving the chapter to the desired location:
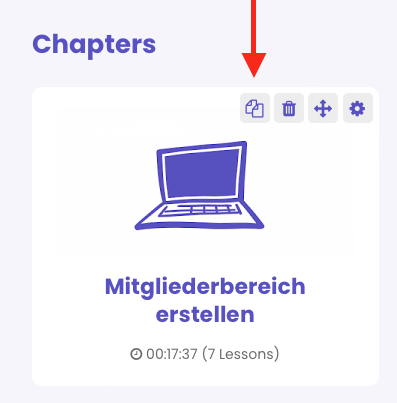
You can copy a chapter and move it to another course at the same time. This is relevant for you, if contents occur in several courses, but you do not want to copy a whole course.
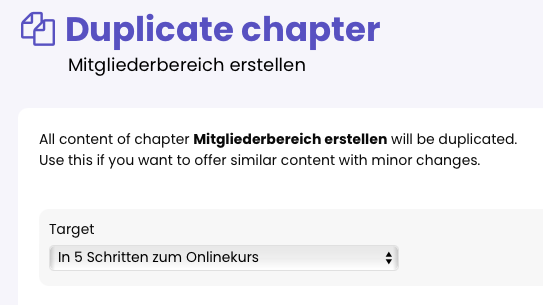
Now you can choose whether to copy the chapter within the existing course or to another one of your courses.
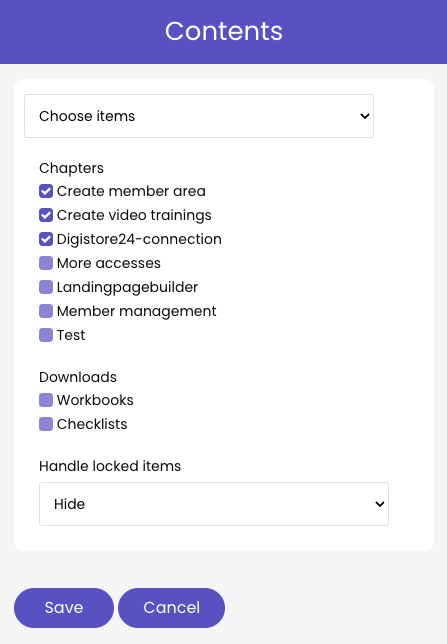
By default, all published contents of that training are activated, when a member gets access to it. If you only want to unlock certain content, you can configure this in the settings of the corresponding Access under the tab Contents.


You can also define how the blocked content should be displayed for the member. The settings for this can be found under Handle locked items. There you have the following setting options:
Hide: Only the content that has been activated via the access is displayed to the member. All other content is not visible.

Show, but disabled: The member is also shown content in the trainings overview that has not been activated. These are greyed out and not clickable.
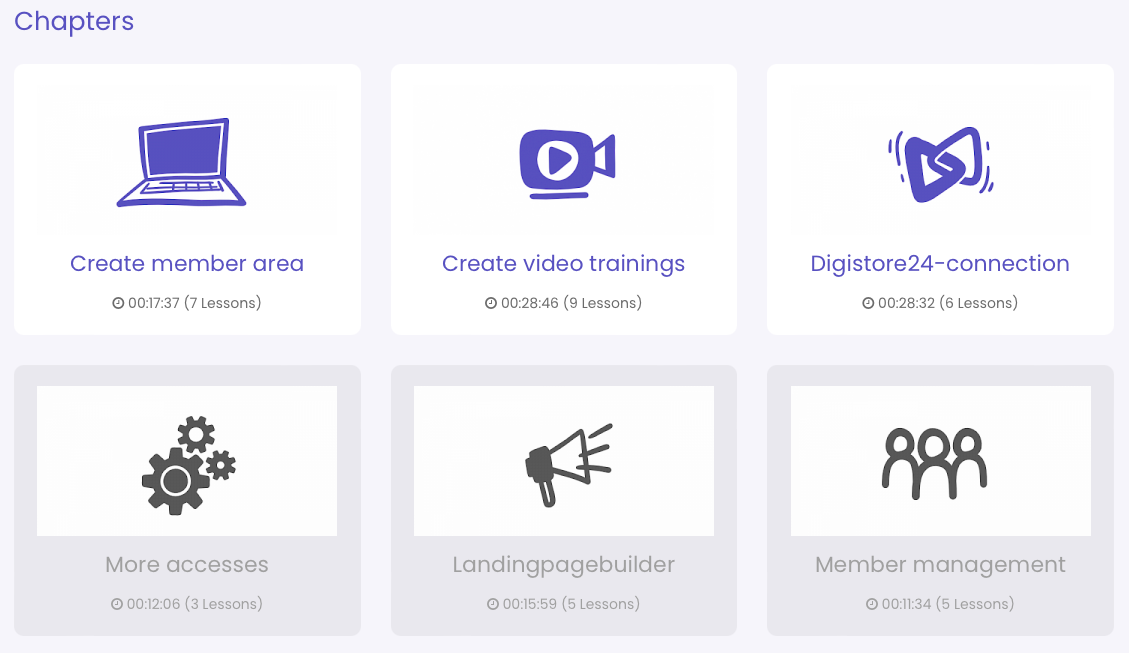
Redirect to the following link: The member is also shown content in the trainings overview that has not been activated. They are marked with a corresponding note that the content has not been activated. Clicking on the (download) chapter will take you to a specific link (e.g. a sales page), which you can specify here.
For coaching or other individual support, it is advisable to unlock individual chapters later. You can define this via the tab contents in the settings of an access:
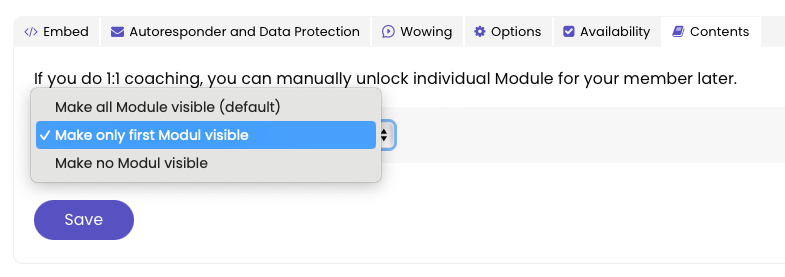
The default is to display all content. For example, a coaching client would now be able to access a course that initially shows him only chapter 1 or no chapter at all
Edit and further content can be individually unlocked when you edit the member:

