Quentn

This page was translated into English automatically.
You can find the original article in German here.

Scroll down the Connections tab in your members area settings until you see Autoresponder. Click on Add Autoresponder and select Quentn. Then click Connect.

Now you will be asked to log in to your Quentn account. After entering your login details, click Sign in. A prompt will appear asking if you want to give Quentn access to your Coachy account. Click on the button with the arrow. Quentn and Coachy are now successfully connected.

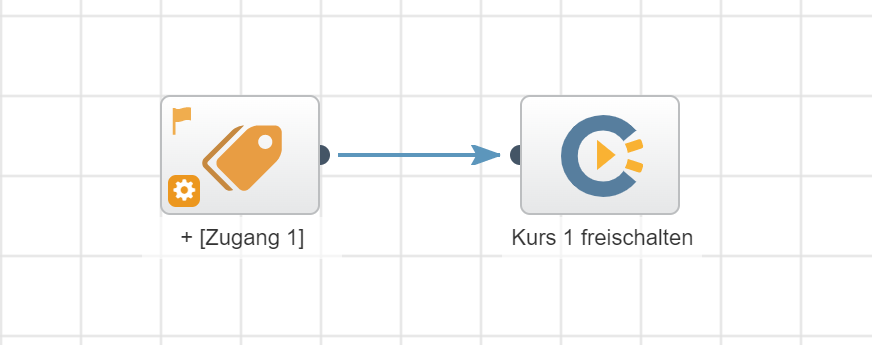
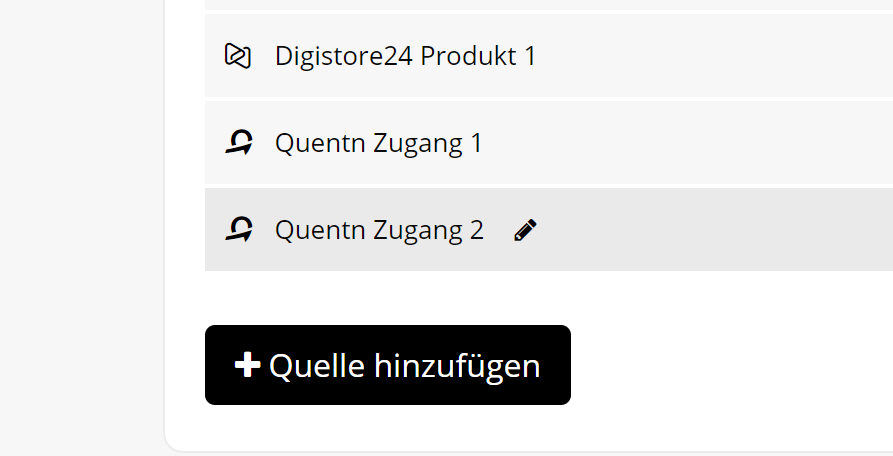
Now you can go to the respective settings of your courses under the tab Access Quentn and transfer course participants to your email system. Optionally you can add tags to them. The list of available tags is automatically transferred from Quentn to Coachy. So create tags in Quentn first if you want to use this feature.

We use Quentn ourselves and can recommend it to you without hesitation - it's just as easy as Coachy :-) Just try it out: https://go.coachy.net/quentn

  • Grant and revoke access via Quentn

    Quentn can not only be connected to Coachy as an autoresponder. You can also assign and revoke Coachy access via Quentn. This opens up a lot of possibilities for you, since you can respond to any event in Quentn (assigning a tag, clicking on a link, visiting a web page. Filling out a form, etc.) you can react.

    Once you have successfully connected Quentn to Coachy as an autoresponder in your Settings via Connections, you can use the action element in Quentn's campaigns:

    image.png

    Accessions via Quentn can only be created there. After the campaign is published, they will appear with your other course accesses:

    image-2.png

    You can also change the name here again using the pencil icon. As with other accesses, you can then make optional changes in the settings of the access, such as a time limit. A course can have any number of Quentn accesses.