

Connect Zapier with Coachy
You can find the original article in German here.
Zapier Automation
To connect to Zapier, go to the Connections tab in your member area settings. Click Configure Zapier and an access link and Zapier key will appear.
Now click on the access link and log in to Zapier if necessary. Then click on the orange button Accept invite and build a zap.
Now you get to the overview of your zaps at Zapier. By clicking on Create a Zap you can add Coachy as a new connection.
Type "Coachy" into the search mask in the first item of the Zap (When this happens...). Coachy's logo will appear with the note By invite. This means that you have been invited by Coachy to use it in Zapier. Click on the logo and you can use Coachy as a trigger and start element of a Zap in Zapier.
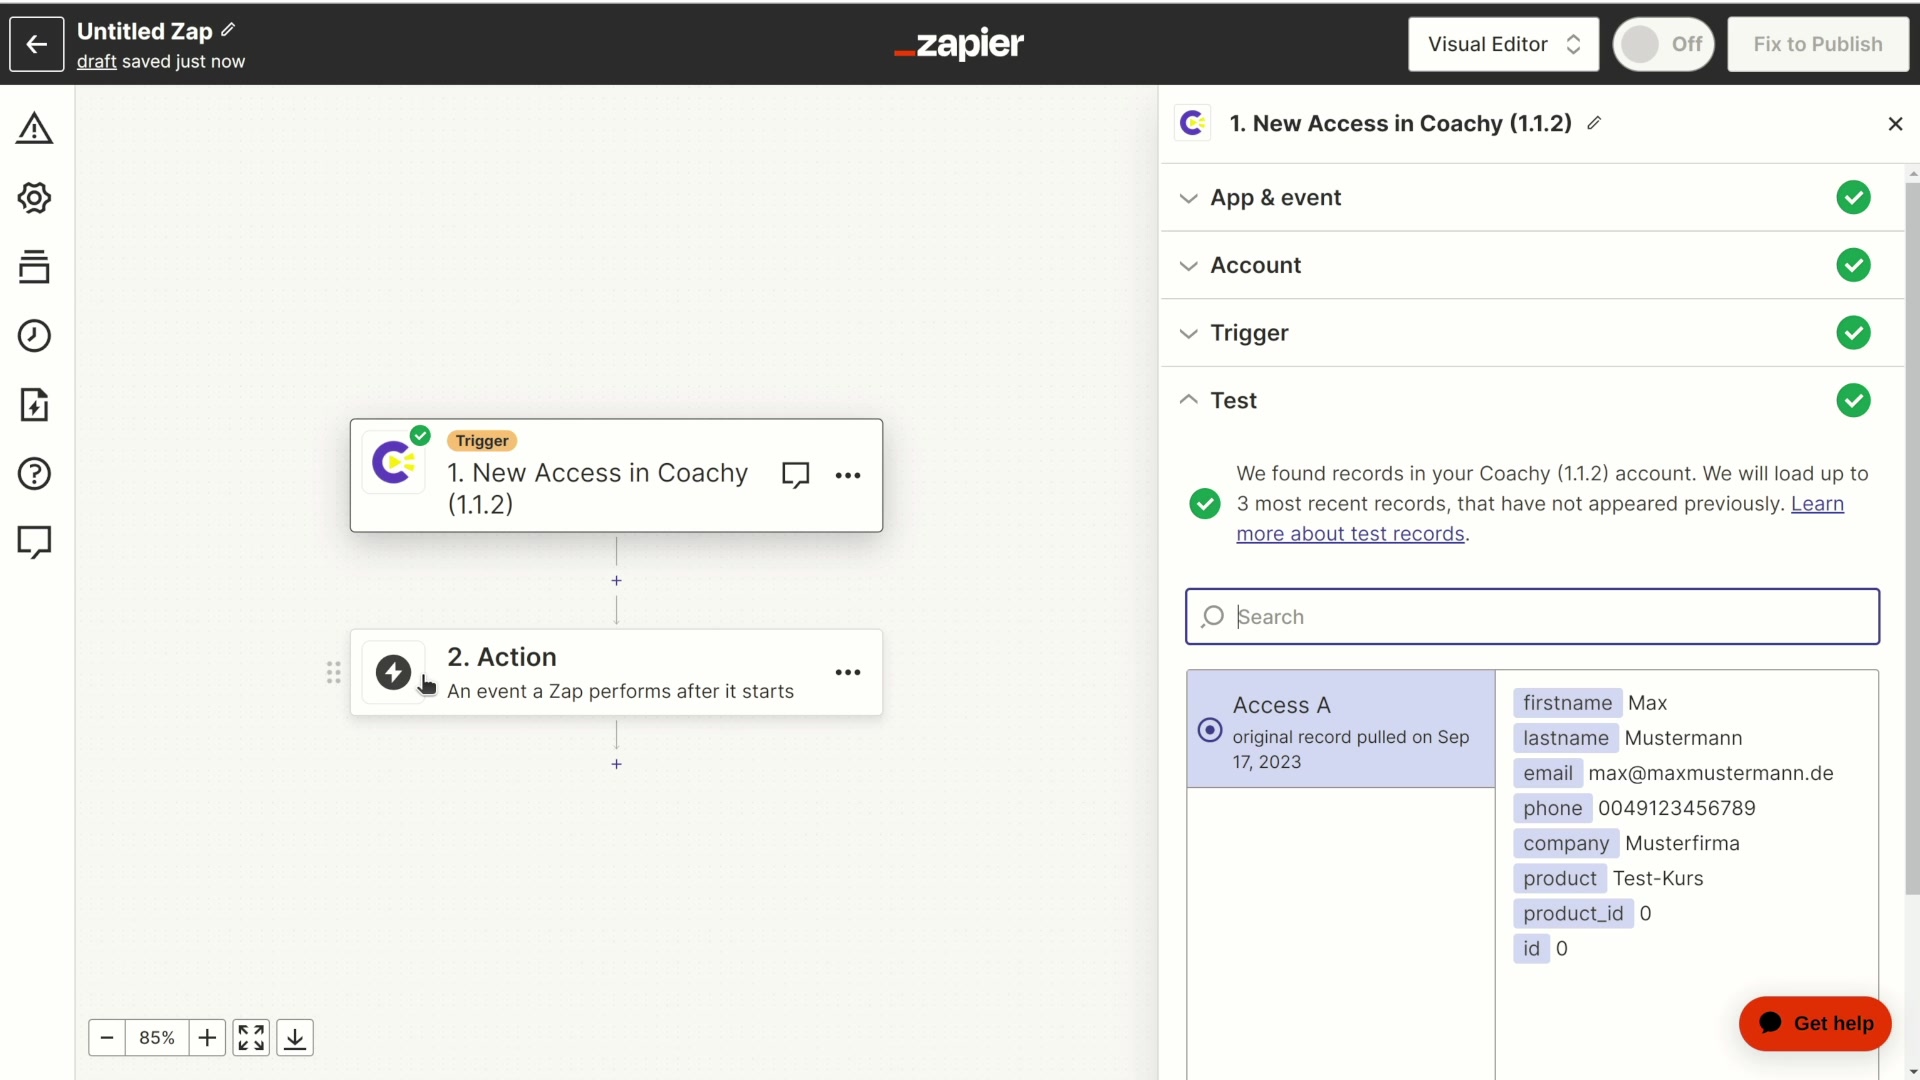
A trigger event here can be New Access, for example. This means that the Zap will start as soon as a new access is created in Coachy.
Now, once you create a Zap for the first time using Coachy as a trigger and click on Continue, you need to link your Coachy account to Zapier by clicking on the Sign in to Coachy button.
To do this, you will need the Zapier Key mentioned above and enter it into the input screen. Click on Yes, continue. You will then see in Zapier that your account has been connected to Zapier by Coachy.
Now, in the first step of Zap at New Access, you can use a specific course and also a specific access of a Coachy course as a trigger. For example, you can select that this Zap should only apply to your course #1 and there only to the accesses via Digistore24.
After that you can click Continue and test the first step of the Zap. If everything worked, a green checkmark will appear at the top. The trigger of the Zap is now created - and now the magic of Zapier begins. You can now communicate with one of the 1,500 connections to Zapier in step 2 and trigger an activity there:
- The contact via the access should be transferred to my email program
- The contact via the access should be transferred to my CRM system
- etc. ...
The Zap you just created also works the other way around. You can use Coachy not only as a trigger, i.e. start a zap, but also as an action that is executed (step 2).
To do this, add Zapier as a source in your course settings in the Access tab. Zapier as a source. This will now allow for great shortcuts. For example, you can automatically add any buyer of a particular product in your online store to a course so they can watch accompanying videos there. The trigger of your Zap here is the purchase in the online store and the action that is executed is the creation of a course access in Coachy.