How is a landing page constructed and how can it be created/customized for you
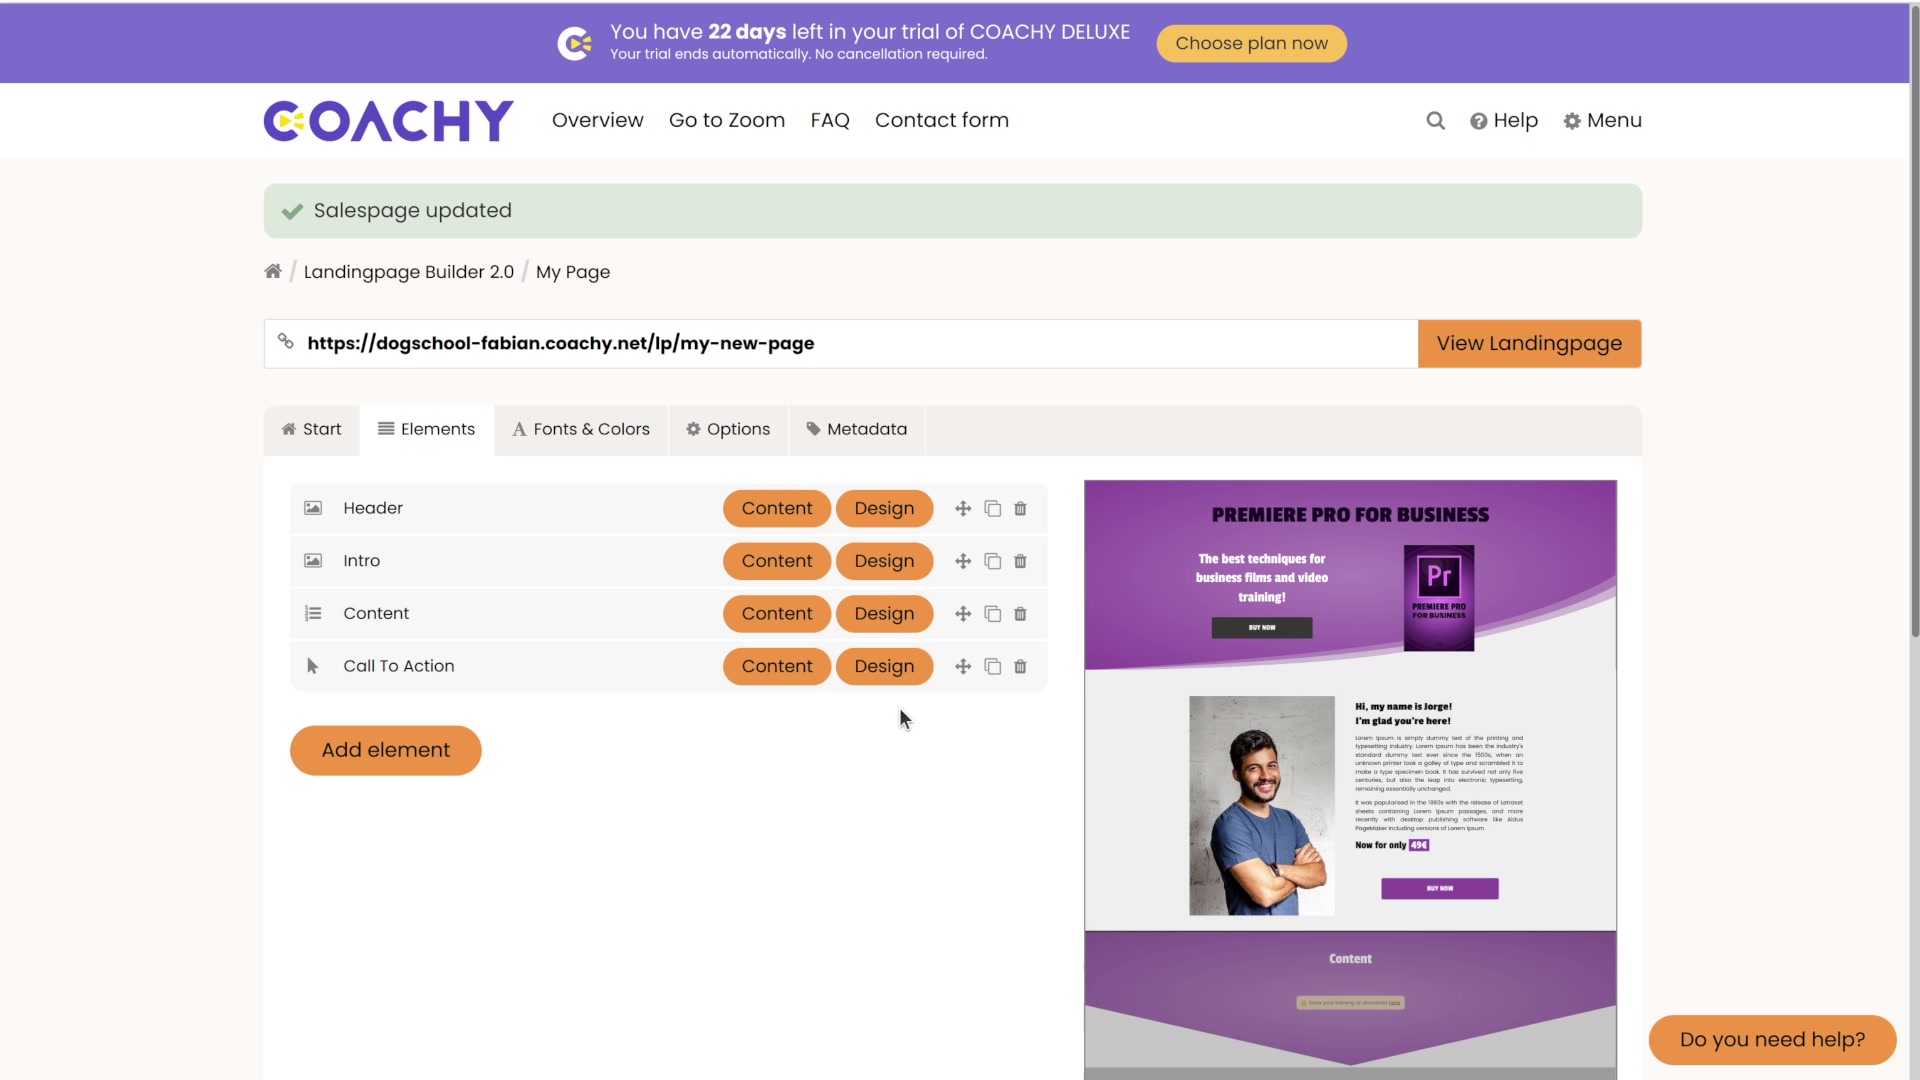
When you click on the Menu and Landingpages, you will see an overview of your created landing pages. Click on the Edit button next to the landing page you want to customize. You will automatically land on the Elements sub-tab.
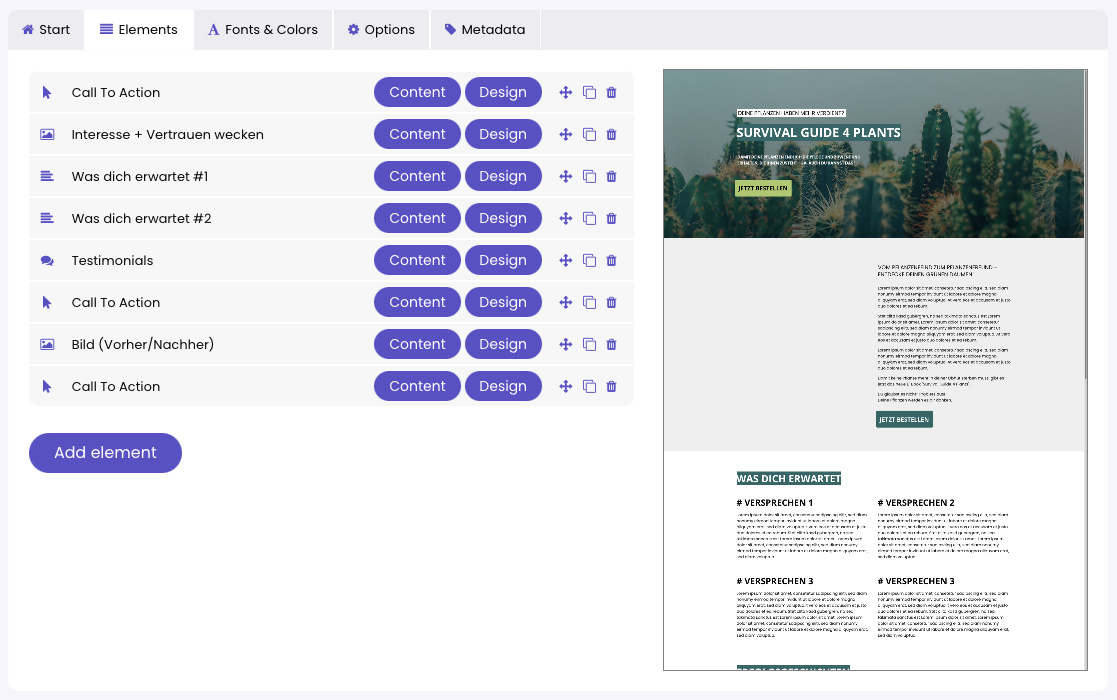
A landing page is always built from several elements - according to the modular principle. If you move the mouse over the preview image of the page, the element you are currently previewing with the cursor will always change color on the left side. The whole thing works in reverse as well: If you click on an element in the list, you automatically jump to the corresponding position in the preview. This way you know immediately where which part of the page is located.
For quick organization of your existing elements, you have the following options in the overview:
Crosshair icon: allows drag & drop to move the individual elements (change order)
Copy: Duplicates an element.
Trash can icon: Removes the element.
You can also rename the preset item names by hovering over them and clicking the pencil icon.
Add element
If you want to add a new element, you can do so by clicking the Add element button. A pop-up will open showing you the selection of possible elements:
When you select an element, it is added to your page and appears in the elements overview. If you want to edit its content, click the Content button. Depending on the element you can adjust different things. It's best to try it out for yourself to see what's possible!
Formatting
Insert buttons in text
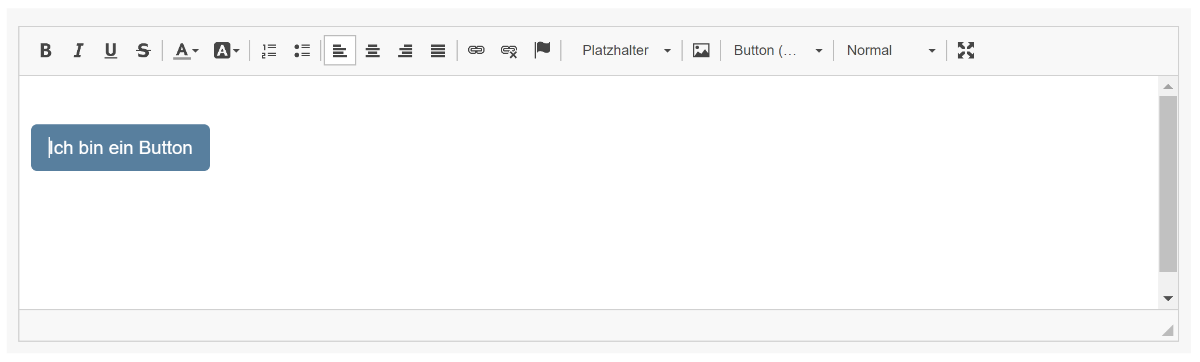
You can include a (CTA) button on your pages that links to the global link target of your page. But how can you now include one - or more - buttons that link to different destinations? Simple: by turning text into a button.
To do this, go into an element that has text. First, enter the text that you want to appear on your button. Then highlight it and make a link out of it - link target: of course the page your button should link to:
You may have noticed that the formatting option "style" is no longer grayed out:
Mark your created link and under "Style" now choose an appropriate button style:
The "Button (Color)" style automatically adopts the color you have set globally for your members area.
Insert videos in text
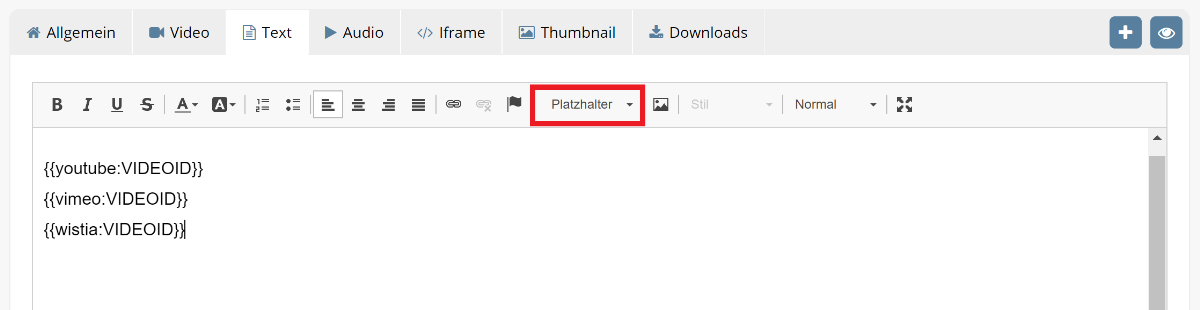
In all texts (e.g. description of a course, a chapter etc.) YouTube, Vimeo and Wistia videos can be embedded. The width of the embedded videos is automatically adjusted to the maximum screen width, so that they are also displayed properly on mobile.
For embedding, placeholders (YouTube / Vimeo / Wistia) can be inserted with the corresponding ID of the video:
Set anchors/jump marks
You can set anchors or jump marks within your page via the text editor. Your initial link then points to another area of the existing page - and the user "jumps" to the corresponding place by clicking.
First enter your desired text, e.g.:
"If you want to know what to expect in the course, go this way."
"This way" should now automatically scroll to the text section of your page that goes into more detail about your course content when clicked. To do this, highlight your "Course Content" heading and set it as an anchor by clicking on the flag icon. Give the anchor a unique name, e.g. "Course content" - this way you can find the right anchor faster if you use multiple jump labels on your page.
Now mark the text "this way" and turn it into a link. Set the link type to Anchor of this page and select the name of your previously created anchor under By anchor name.
That's it. Here in the tutorial, you can see what your user will end up with as well: if you click "this way" at the top of the text, it will automatically scroll to the "course content" anchor you set.